Building an Offline-First Chat App Using PowerSync and Supabase
One of the most important decisions when building a mobile app is how to store and access data within the app. This decision is all the more critical when data is inherently collaborative, like in a chat app (and, as a matter of fact, in most apps these days). How to handle reading and updating data affects the developer experience of the people building the user interface of the app and - arguably even more importantly - has significant implications on performance and reliability for the people using the app in the end.
The most commonly used approach to working with remote data in mobile apps today is REST APIs, which offer dedicated interfaces for the data and operations required for the app. In a chat app, for example, this could mean having an API endpoint like /contacts, which would respond with a list of the user’s contacts (most likely in a JSON formatted response), which the app could then display as a list. This list would probably only contain information needed to display a list of contacts, like the contact’s names. If a user of the app were to click on one of their contacts, the app would make another call to an endpoint like /contacts/123 to query more details about this specific contact.
I want to highlight two significant drawbacks of this approach, though:
- Data is requested the moment it’s needed, which means between the user’s interaction leading to this request and the displaying of the data, there will inevitably be a slight delay. If the user clicks on a contact, for example, the request has to be sent and fulfilled before showing the contact. During this delay, the app would likely show a loading spinner to the user to indicate that data is being fetched.
- Data can only be requested while online. As data is only fetched ad-hoc, the app only really functions when the device is online. Imagine the user of the app riding in a subway, pulling up the contact list while being in a subway station with cell reception. Then the train starts driving, and there’s either no connection at all or a very spotty connection. When the user clicks on a contact, the details can only be shown once the device is able to connect long enough to load the required data, which might take multiple attempts or not work at all.
These drawbacks do not only imply a subpar experience for the user. They also mean a lot of additional work for the developer. For every screen, the developer needs to handle different states: Data is still loading (show a spinner), data loaded successfully (show the data), data loading failed (show an error message or keep showing the spinner and try again). It also means potentially loading data multiple times. Imagine, for example, a user clicking on a contact in the contacts list, viewing the contact details, returning to the contacts list, and then clicking the same contact again. In many implementations, the same data would be loaded from the server again. Or, in the case of having a spotty connection, it would potentially fail and result in not being able to show the same data to the user that he already looked at only seconds ago.
There are ways to mitigate this, of course, for example, through local caching of data. This can vastly improve the end user’s experience with the app but, at the same time, introduces a significant amount of additional complexity (and potential sources for bugs and inconsistencies) for the developer.
Offline-first
There’s another approach to these challenges that’s been growing in popularity lately, which is to handle all data operations locally first and then sync them with a backend in a second step. This approach is often labeled offline-first or local-first, and it addresses the challenges discussed above head-on:
Data is synchronized asynchronously, either ahead of time (i.e., when opening the app) or after write operations have happened. This means that read and write operations are executed against a local copy of the data and are, therefore, very fast and independent of the network connection. For the users, this means they get a very snappy user experience and don’t have to worry about the quality of their connection. There are many things they’ll even be able to do while being completely offline. For the developers, this means they can think about the data in two separate streams: On one hand, when building the user interface, they can always assume data is loaded and can build the user interface as a reflection of the data store. This especially lends itself to frameworks like React and React Native, where the user interface can be built in a reactive way that re-renders whenever the underlying data changes. On the other hand, the developer needs to think about how and when the data is synchronized with the backend. This task is now fairly decoupled from the whole user interface and could even be handled by another team.
Of course, while coming with significant benefits, offline-first as an approach also brings its own challenges to the table. Building a reliable sync engine, determining exactly which data to sync, and thinking about how to resolve conflicts are complex engineering challenges on their own. Luckily, there is no need to reinvent the wheel when it comes to these challenges, and because of the abovementioned decoupling of these challenges from the user interface details and data requirements of any app, these tasks can be generalized and “abstracted away” fairly easily. And this is where PowerSync comes into play.
PowerSync
PowerSync was developed by JourneyApps, initially as the internal sync engine of their development platform for industrial apps. As building apps in an offline-first approach has become more popular, resulting in more and more development teams being faced with the need for reliable and proven solutions to facilitate this approach, they have recently spun out this technology into a separate offering called PowerSync. Even more recently, they have published a React Native SDK to make it easy to adopt PowerSync in React Native apps. To showcase its capabilities and have a reference implementation for React Native developers to learn from and be inspired by, PowerSync has asked me to build an offline-first chat application as a demo.
Take a look at the result here:
Building the chat application from scratch took me about two weeks. I built the app using Expo, building out the navigation structure and routing with Expo Router. The UI is built using Tamagui, and I chose Supabase as the backend, as it is super easy to set up, and PowerSync already has an existing integration with Supabase. In the following sections, I’ll describe how I approached the data architecture, set up PowerSync and integrated it with Supabase, integrated the React Native SDK, and built a reactive user interface that works completely offline.
Data Model
In my experience, it makes sense to approach building offline-first apps in a two-step approach. First, think about the global data model just as you would for any other app you’re building. Second, think about how the general data model can be adapted to the app locally: Which data can be kept offline vs. which data needs to be online, and with regard to the data that can be stored offline, how can you partition the data to only synchronize the data that applies to the current user.
Keeping it quite minimal for the demo chat app meant having the following objects:
- Profiles (each user has a profile)
- Contacts (each profile can have n other profiles as their contacts)
- Groups (each group has a profile as its owner)
- Memberships (each group has n profiles as members via memberships)
- Messages (each message has a profile as sender and either another profile or a group as recipient)
As a first step, I wrote the SQL migrations to set up the data model in the Postgres database on Supabase.
They are normal SQL statements like described in the Supabase docs:
create table public.profiles (
  id uuid not null,
  created_at timestamp with time zone not null default now(),
  updated_at timestamp with time zone not null default now(),
  handle text unique,
  name text,
  demo boolean default false,
  primary key (id)
);
There is one migration statement specifically required for the PowerSync integration, and that is to create a publication within the Postgres database:
drop publication if exists powersync;
create publication powersync for table profiles, contacts, groups, memberships, messages;
You can see all migrations to set up the backend database for the demo chat app in its public repository.
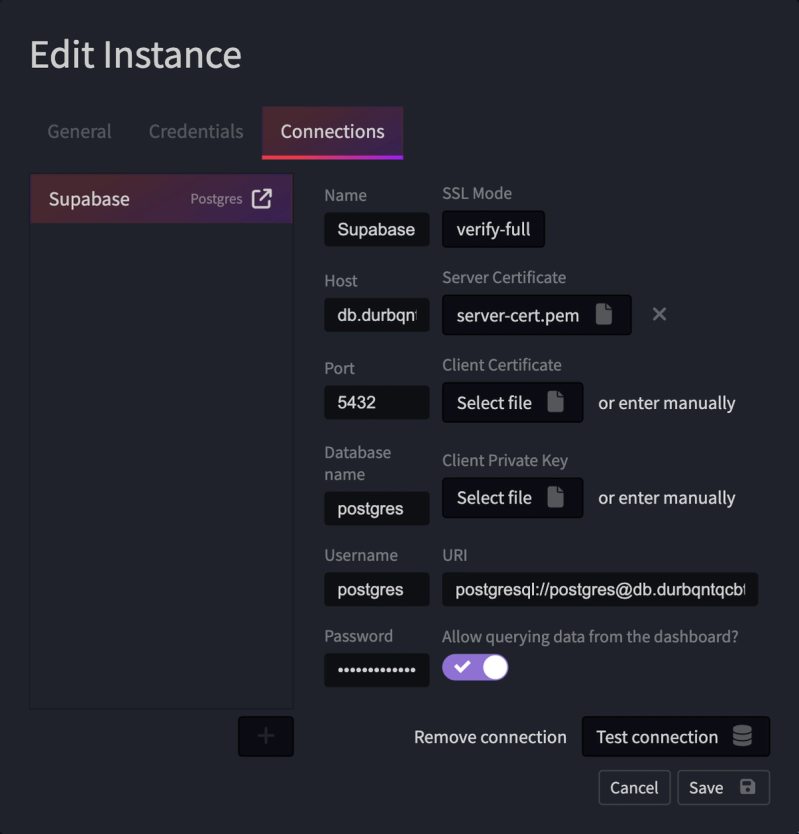
The next step was to connect PowerSync to Supabase. For that, I created a new instance in the PowerSync dashboard, entering the host, user, password, and SSL certificate of the Supabase instance:
Sync Rules
Next, I needed to define which data would be synchronized to users’ devices. PowerSync does this via sync rules, which are used to define “buckets” of data. Think of those buckets as dynamic segments of your overall data defined through criteria like the currently logged-in user. A bucket definition consists of two parts:
- A parameters query, which results in one or more parameters that can be used to select the data to sync.
- A data query, which uses the parameters to query the actual data to sync.
Most of the sync rules in the chat example are quite simple. As an example, let’s look at the query that selects the current user’s contacts and their group memberships:
bucket_definitions:
  user:
    parameters: select token_parameters.user_id as user_id
    data:
      - select * from memberships where profile_id = bucket.user_id
      - select * from contacts where owner_id = bucket.user_id
Here, we define a “user” bucket and select the id of the current user as the parameter. Using this parameter, we then query for all memberships and contacts that belong to this user.
Sync rules can be far more powerful, though. One example of a more complex sync rule from the demo chat app is the implementation of messages and typing indicators. One goal for the app was not only to show sent messages to their recipients but also to show a typing indicator when someone is preparing a message but hasn’t sent it yet. For this, I decided to create a new message record as soon as a user starts typing a new message. The messages table has a sent_at column to indicate when the message was sent. As long as this column is null, the message has not been sent and is, therefore, considered a draft. This also has the benefit that this draft message record will be synchronized as well, basically allowing a user to start typing a message on one device and finish and send the message on another device. The existence of a message in draft mode can then also be used to indicate to the recipient, that a message is being prepared (i.e., show a typing indicator). But of course, it wouldn’t be wise to synchronize the content of a message that is still being worked on to the recipient’s device, even though the UI would check for the sent_at column being not set yet and therefore only showing a typing indicator instead of the content of the message. We would still be storing data that has not been finalized and “submitted” yet on the recipient's device. Luckily, we can use a quite simple modification of the sync rules to solve this problem:
bucket_definitions:
  user:
    parameters: select token_parameters.user_id as user_id
    data:
      - select * from messages where sender_id = bucket.user_id
      - select *, '...' as content from messages where recipient_id = bucket.user_id AND messages.sent_at IS NULL
      - select * from messages where recipient_id = bucket.user_id AND messages.sent_at IS NOT NULL
Similar to the sync rules shown above, we select the current user’s ID as the parameter, which is then used in selecting the messages. Take note, though, that there are three distinct queries to select records from the “messages” table:
- The first query selects all messages, where the current user is the sender.
- The second query selects all messages, where the current user is the recipient and where sent_at is not yet set. Those are all the draft messages that are prepared by different users to be sent to the current users. Note how we’re selecting all fields for the sync, but overwriting the “content” field with the string “...” in order not to synchronize content to the recipient’s device, which has not been finalized yet.
- The third query selects all messages that have already been sent to the currently logged-in user, where the content is safe to sync and will be displayed to the user as well.
You can see all sync rules defined for the demo chat app in its public repository.
React Integration
Now that the data model has been created and sync rules have been defined, it is time to integrate PowerSync in the front end (i.e., the React Native app) and look at how the data will be displayed to the user. Getting PowerSync to work in React Native can be thought of as a three-step approach:
- Install required dependencies and polyfills
- Setup PowerSync provider and connection
- Implement queries to read and write data
As the goal of this post is not to reiterate the PowerSync docs, I’ll just refer to the Client API SDK reference for steps one and two. You can also take a look at how the PowerSync provider is set up in the demo chat app's providers/PowerSync.tsx
As an example for step 3, I want to demonstrate how I set up the contact list within the demo chat app. Here is a simplified version of the contact list screen.
import {
  usePowerSync,
  usePowerSyncWatchedQuery
} from "@journeyapps/powersync-sdk-react-native";
import { useState } from "react";
import { Button, Input, YStack } from "tamagui";

import { ContactRow } from "@/components/contacts/ContactRow";
import { List } from "@/components/list";

export default function ContactsIndex() {
  const powerSync = usePowerSync();
  const [search, setSearch] = useState<string>("");

  const contacts = usePowerSyncWatchedQuery(
    "SELECT contacts.id, profiles.id as profile_id, profiles.name, profiles.handle, 'contact' as type FROM contacts LEFT JOIN profiles ON contacts.profile_id = profiles.id WHERE (profiles.name LIKE '%' || ?1 || '%' OR profiles.handle LIKE '%' || ?1 || '%') ORDER BY name ASC",
    [search]
  );

  return (
    <YStack>
        <Input
          onChangeText={(text) => setSearch(text)}
          value={search}
        />
      <List
        data={contacts}
        renderItem={({ item }) => <ContactRow item={item} handleDeleteContact={handleDeleteContact} />
        }
      />
    </YStack>
  );
}
You can see how a simple hook (usePowerSyncWatchedQuery) is used to bind the result of a SQL query to the variable “contacts.” The resulting array is then used to render a list to display all the contacts. There is also a search input field, which is used in the query. With every change to the input field, the query is re-run, and the list is re-rendered. This would not be feasible when fetching the data from a remote server on every change, there would at least need to be some kind of debounce function. However, because the data is local, we can just update the query with every keystroke in the search field. Also, the query results are fully reactive, meaning that every time the results change (either because the search parameter changes or because updated data is synchronized to the device), the results of the query change, and the list is re-rendered. We do not need to implement any polling or update logic at all.
Conclusion
To summarize, I designed the data model in a two-step approach, starting with a “global” data model, which was implemented in Supabase, from which I derived the “local” data model, which was implemented using Sync Rules in PowerSync. I then integrated the synchronization and set up the user interface by going through the three steps of installing the PowerSync dependencies, setting up the PowerSync provider and connections, and finally implementing queries that are wired to React components for displaying and manipulating the data.
In the introduction, I talked about how offline-first, in my opinion, brings lots of benefits like performance and reliability to an app, but it also comes with its own set of challenges and complexity for the developer. However, as I already alluded to in the introduction, I’m amazed how much of those challenges can be abstracted away by building upon a solution like PowerSync. This becomes especially apparent when thinking about all the aspects that were not part of this tutorial because I just didn’t have to do anything in this regard: Establishing and managing the connection between the device and the sync endpoint, figuring out the status of the synchronization and making sure we don’t synchronize data multiple times but also don’t lose data, figuring out which data has changed and therefore needs to be synced at all and resolving conflicts by finding out which updates are more recent. All of this is happening in the background and has not added any complexity to this very simple demo chat application at all.